How to set up Tapo smart switch
Neuere Updates können den Zugang zu Funktionen, die in dieser FAQ erläutert werden, erweitert haben. Besuchen Sie die Support-Seite Ihres Produkts, wählen Sie die richtige Hardware-Version für Ihr Gerät aus und schauen Sie entweder im Datenblatt oder im Firmware-Bereich nach den neuesten Verbesserungen für Ihr Produkt.
The TP-Link Smart Switch introduces an innovative approach to managing your electrical devices. With advanced features and remote control capabilities, this smart switch offers convenience and efficiency at your fingertips. Experience seamless integration into your smart home ecosystem with TP-Link's cutting-edge technology.
Follow the steps below to set up your Tapo smart switch using the Tapo app.
1. Go to Google Play or the Apple App Store or scan the QR code below to download the Tapo app.

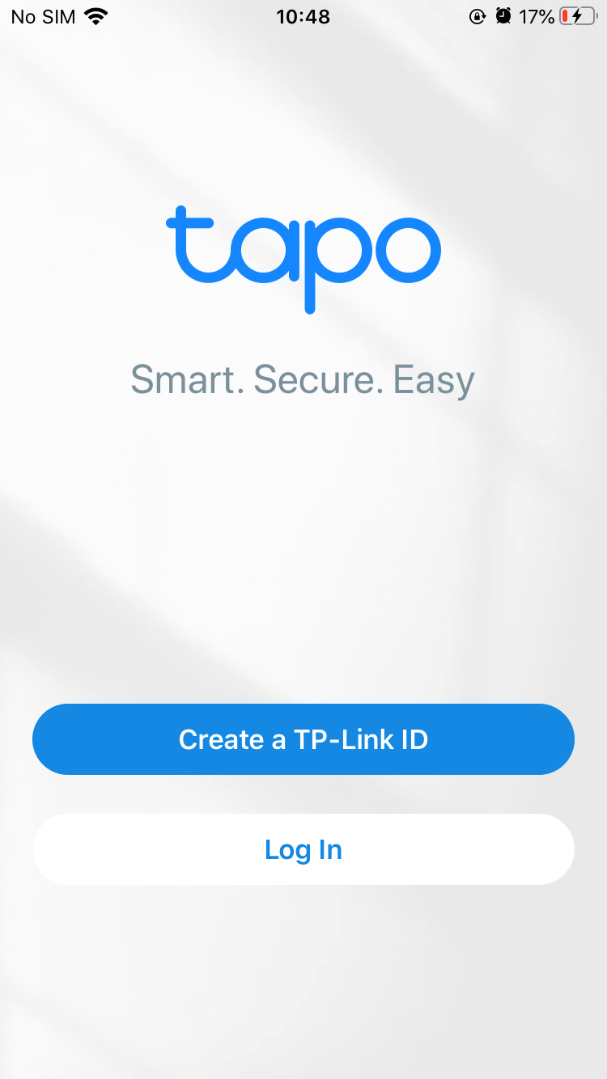
2. Open the app and use your TP-Link ID to log in. If you don’t have a TP-Link ID, tap Create a TP-Link ID to create one and the app will guide you through the rest.


3. Tap the + button in the Tapo app and select Switches/Buttons under the Tapo brand. Then select your model. Here we take Tapo S500(Wi-Fi version) as an example.
Note:
For the Bluetooth version, please refer to: https://www.tp-link.com/support/faq/3996/
For the Sub-G version, please refer to: https://www.tp-link.com/support/faq/3118/


4. Wire the smart switch to the wall based on the installation guidance on the Tapo App and wait until the LED blinks orange and green. Then tap the ALREADY ORANGE AND GREEN button. Keep your phone or tablet close to your Tapo switch throughout the setup.


5. Connect to your smart switch’s Wi-Fi. Tapo will search for your device.
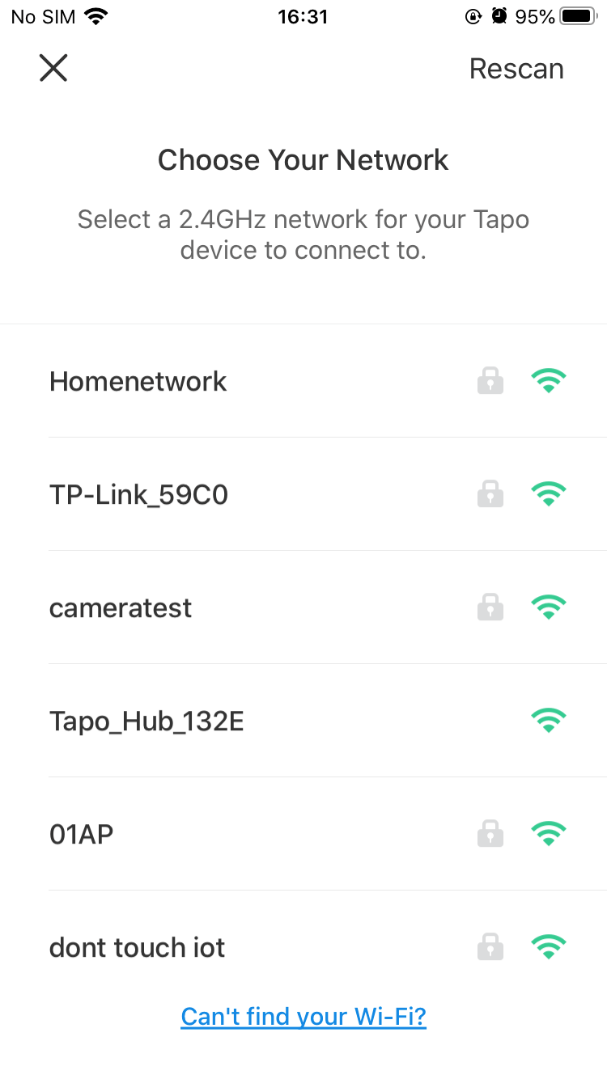
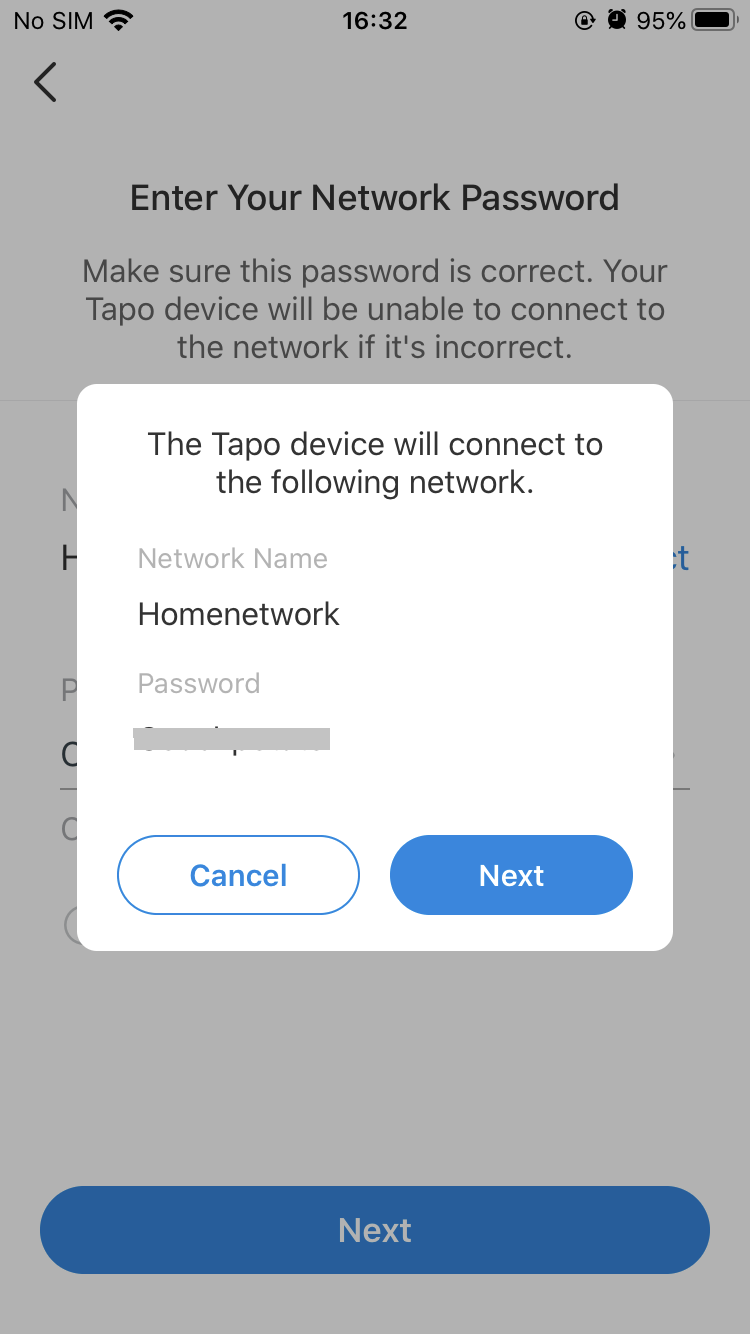
6. Choose your network and enter its password. Then tap Next to add your Tapo switch to your home network.

